In Tabletop Creator, you can export your board game project in different formats and configurations according to your needs. Essentially, it allows you to convert your project into files that can be used outside the Tabletop Creator environment.
Within the export screen, you’ll find a variety of configuration options, including filtering and organizing exported elements, selecting image formats with custom resolutions, creating PDF files, and specific settings for exporting images optimized for Tabletop Simulator.
Once you’ve configured your export preferences, you can initiate the export process with a single click. After the export is complete, the folder containing the exported files will automatically open in your device’s file explorer.
In summary, exporting in Tabletop Creator provides you with the ability to conveniently share and distribute your board game, adapting it to different platforms and format requirements with ease.
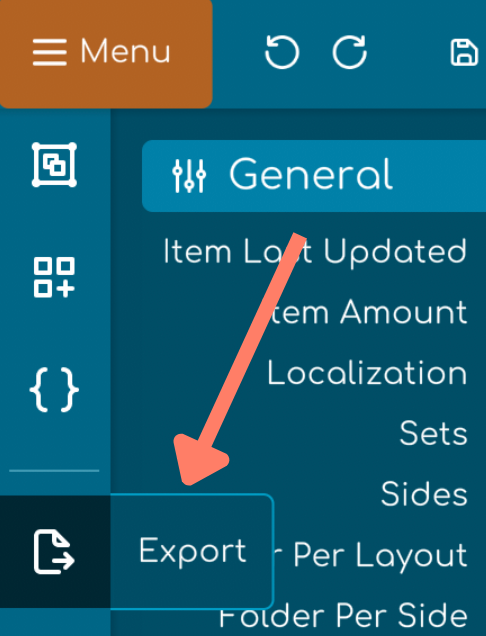
Open the Export Screen
Click the export button in the sidebar once a project is loaded.
Note: You need at least one blueprint in your project to access this screen.
Export Settings
- General Settings: Options to filter and organize exported items, select image format, and adjust file size.
- Individual Images: Allows setting a custom DPI or exact size for exported images and customizing the file name format.
- PDF: Advanced settings for creating PDFs, including page size, margins, and options for grouping items.
- Tabletop Simulator: Specific settings for exporting images optimized for use in Tabletop Simulator, with grid size options and set grouping features.
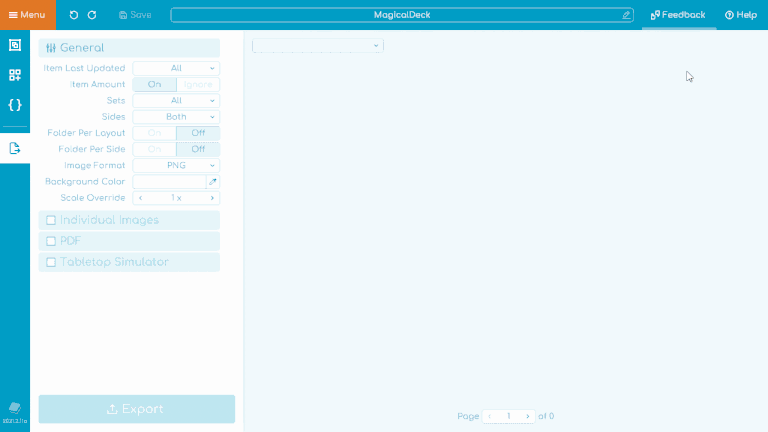
Guide to Export Your Project
- Enable or disable different export modes using toggles in the left settings panel.
- Change the preview between enabled export modes using the top dropdown.
- Navigate between items or pages using inputs at the bottom.
- Click the big bottom-left button to Exportar your project.
- The folder with exported files will open automatically in the file explorer when finished.
Quick Tip
ℹ️ Ensure at least one set with one item is in your project 😉.
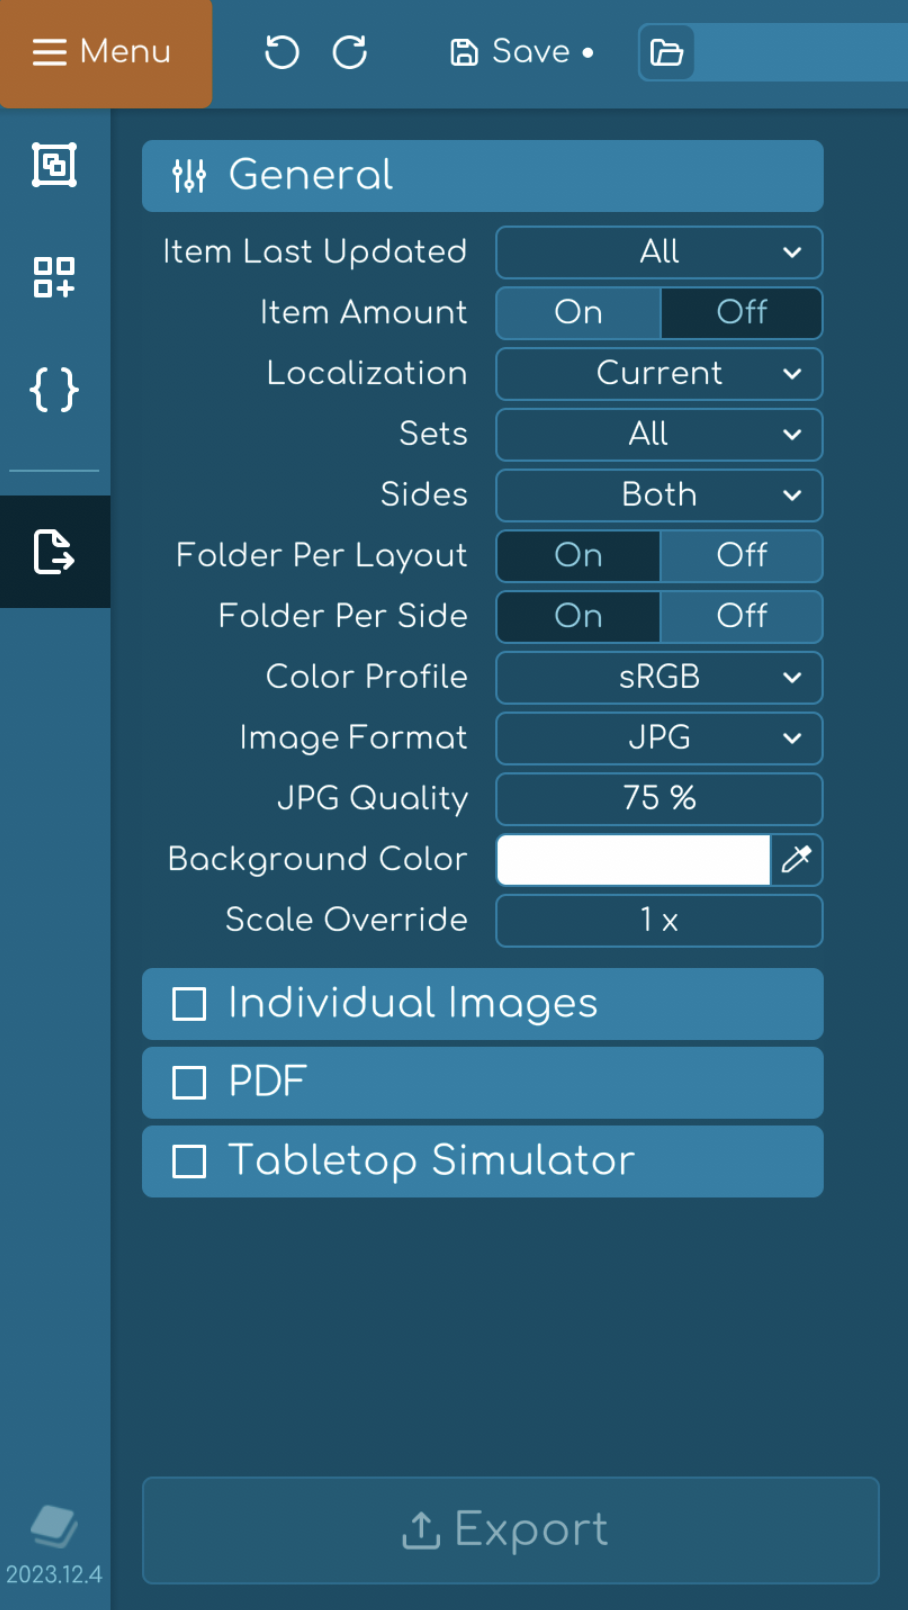
Configuring General Settings for Export
Setting up the general export settings is crucial for ensuring your files are prepared accurately for display or printing. This guide will walk you through the essential configurations to match your project’s requirements, from color profiles to rendering intents, guaranteeing optimal output quality.

- Item Last Updated: Select “All” to export every item, or pick a specific date to filter items updated since then.
- Item Amount: Toggle “On” to filter by the quantity of items.
- Localization: Choose “Current” to apply the export settings to items in the currently selected language, or select “All” to include items across all languages.
- Sets: Opt for “All” to export items from every set, or pick a particular set to focus on a specific group of items.
- Sides: Set to “Both” to export images showing front and back sides of an item, or select “Fronts” or “Backs” to include only one side.
- Folder Per Layout: Toggle “On” to automatically create a new folder for each layout or design variation. If this option is enabled, you’ll also see Folder Per Set—toggle this “On” as well if you wish to organize the exported files into set-specific folders.
- Folder Per Side: Toggle “On” to create separate folders for different sides of an item, useful if your items have multiple sides to be displayed or printed separately.
- Image Format: Pick PNG or TIF for keeping quality high without losing any details, even though the file size will be bigger. Use JPG for a good balance between quality and size. You can adjust the quality to make the file smaller, but keep in mind that JPG doesn’t support transparency.
- Background Color: If your items include transparency and you need a specific background color when exporting, choose it here. This color will appear wherever there is transparency in your images. Just keep in mind that the default setting is transparent.
- Scale Override: Utilize this feature to quickly export files at different sizes (smaller or larger) than the original. It can be a timesaver if you need to generate images for various uses, such as thumbnails or high-resolution prints.
- Color Profile: If your printer or manufacturing company requires the files to be exported using specific color profiles, commonly utilizing the CMYK color model, our system allows you to choose from several built-in color profiles or the option to define a custom one. When you access the dropdown menu for color profiles, you will find the following options:
| Color Profile | Color Model | Description |
|---|---|---|
| sRGB | RGB | Standard for digital displays, best for files viewed primarily on screens. Not recommended for printing. |
| Coated FOGRA 39 | CMYK | Ideal for standard European coated paper, common for high-quality print materials. |
| US Web Coated (SWOP) v2 | CMYK | Designed for standard U.S. web-coated paper, often used in magazine and brochure printing. |
| Custom | Custom | Allows uploading a custom color profile (.icc or .icm file), for specific color requirements. |
Additionally, you can adjust the rendering intent to ensure that colors are accurately converted between profiles, enhancing the quality of the final printed product. This feature is crucial for achieving the desired output in professional printing and manufacturing processes.
| Rendering Intent | Description |
|---|---|
| Perceptual (default) | Scales the source color space into the destination. All colors are changed, but the relationships between colors are maintained. Colors may appear less saturated, but the relative saturation is preserved. |
| Saturation | Similar to perceptual but tends to make colors more saturated, though the effect is subtle. |
| Relative Colorimetric | Ensures that in-gamut colors are reproduced accurately. Out-of-gamut colors are translated to the closest possible in-gamut color. |
| Absolute Colorimetric | Directly transfers all colors of the original color space to the destination space. Out-of-gamut colors are clipped to the edge. Primarily used for pre-press proofing. |
Quick Tip
ℹ️ If you export your files using a color profile other than sRGB (for digital designs) please keep in mind that some image or PDF viewers do not read these profiles well and can create confusion about whether the files were exported correctly (when in fact they were).